Joy-Cons on PC: pair, join and configure
Joy-Cons normally connect to a Windows PC individually over Bluetooth.
On this page
Connect and identify the controller
Hold the small sync button on each Joy-Con until its player LEDs cycle, then pair it in Windows. Enable Joy-Con support in the DS4Windows build. Start with one Joy-Con if pairing two devices makes diagnosis confusing.
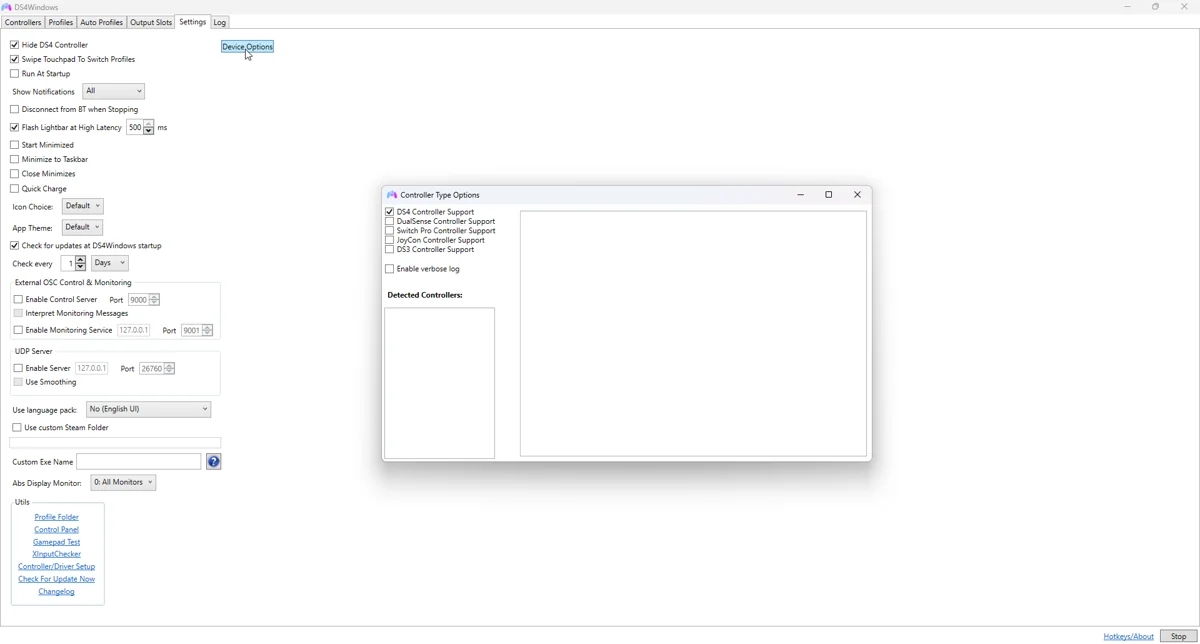
Configure the input and profile
Choose joined-pair or independent-controller behaviour in the options supported by your build. For a joined setup, verify that both halves feed one virtual controller. For separate play, test each controller’s profile and output slot independently.
Model-specific limits
Joy-Con shoulder inputs are digital and its layout is limited when used alone. Gyro configuration and orientation depend on which half is active. If a controller drifts, inspect the raw axes and calibrate or apply a modest deadzone before adding motion mappings.
A repeatable test
- Close competing remappers and select a baseline profile.
- Check that buttons and sticks respond in DS4Windows before opening a game.
- Confirm the intended virtual controller in Windows.
- Test the game, then change one setting at a time.
- Repeat on USB and Bluetooth separately when both are supported; they can have different HidHide entries.
If it is not working
If Windows cannot see the device, solve cable, pairing or model-specific driver setup first. If only DS4Windows misses it, check device support and hiding rules. If DS4Windows reads it but a game ignores it, check virtual output and Steam Input before changing the physical connection.
Related guides
Sources: Nexus release documentation · Project and screenshot credits. Updated 11 November 2026.