
Auto profiles: switch settings for each game
Auto profiles associate an application with a saved controller profile.
On this page
Set it up
Create and test the target profile manually first. In Auto Profiles, add the game executable and assign a profile to the appropriate controller slot. Enable the rule and automatic switching, then save the configuration.
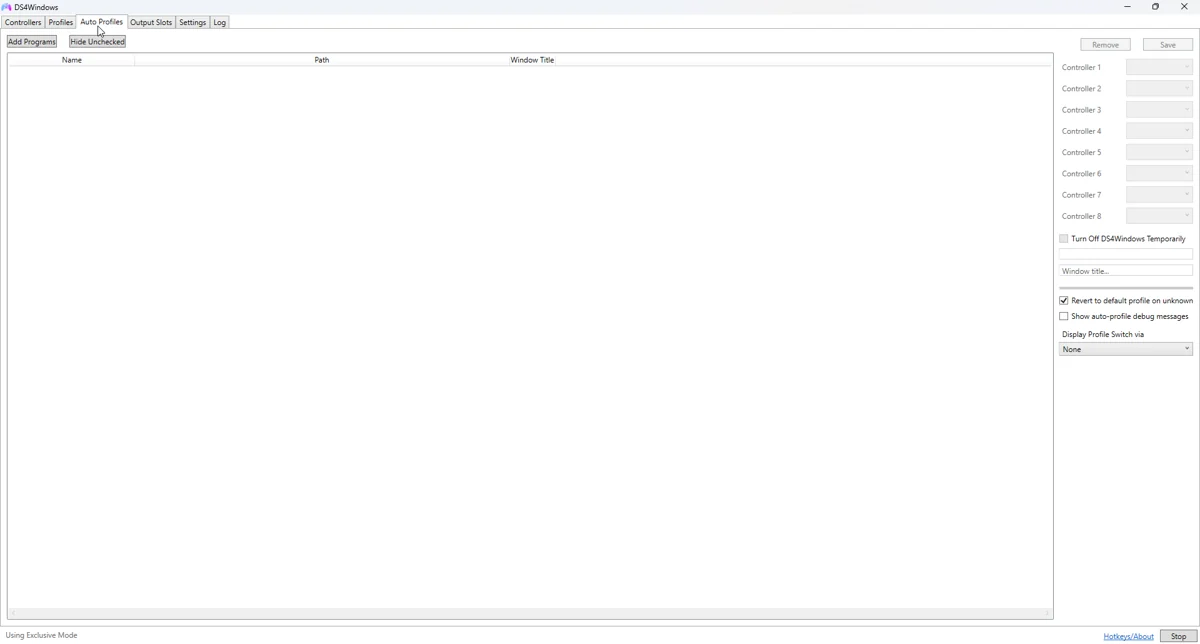
Apply and test
Start the game and check the active profile after its real game process is running. Launchers can spawn a separate executable in another directory. Use Task Manager to identify that process if a rule never activates.
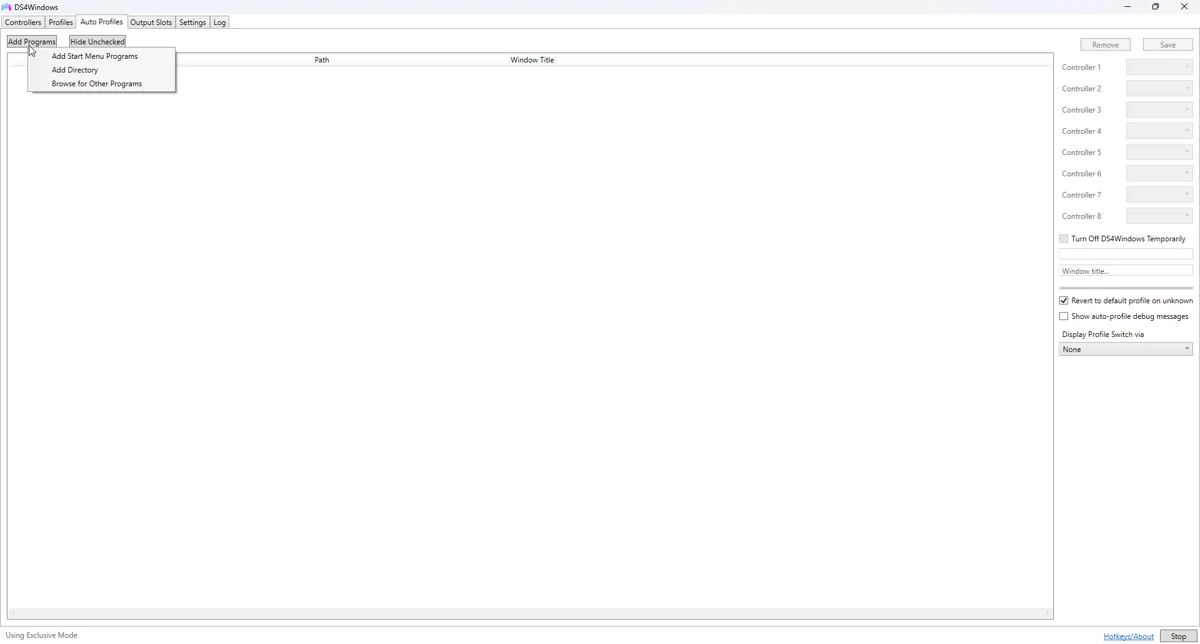
Fine-tune the behaviour
If switching is inconsistent, disable overlapping rules and test one exact executable. Check whether focus or foreground-window rules apply in your build. Establish what happens when the game closes and ensure the normal profile is restored.
Common pitfalls
Maintain a predictable fallback profile. Multiple controllers may have distinct assignments even for the same game. Do not use a complex auto-profile rule to diagnose a backend failure; test virtual output manually first.
Verify before keeping the change
- Save a copy of the last working profile.
- Select the changed profile on the controller you are testing.
- Test in Windows, then in the target game or application.
- Compare with the unchanged baseline if behaviour is unexpected.
- Back up the working result and change only one further variable at a time.
Related guides
Sources: Nexus release documentation · Project and screenshot credits. Updated 11 November 2026.