
DualSense on PC
DualSense provides analogue controls, motion input, a touchpad, lightbar and specialised feedback hardware.
On this page
Connect and identify the controller
Use a USB-C data cable for the first test. For Bluetooth, hold PS + Create until the lights flash and add the controller in Windows. In classic builds, enable DualSense support in Device Options if it is not detected.
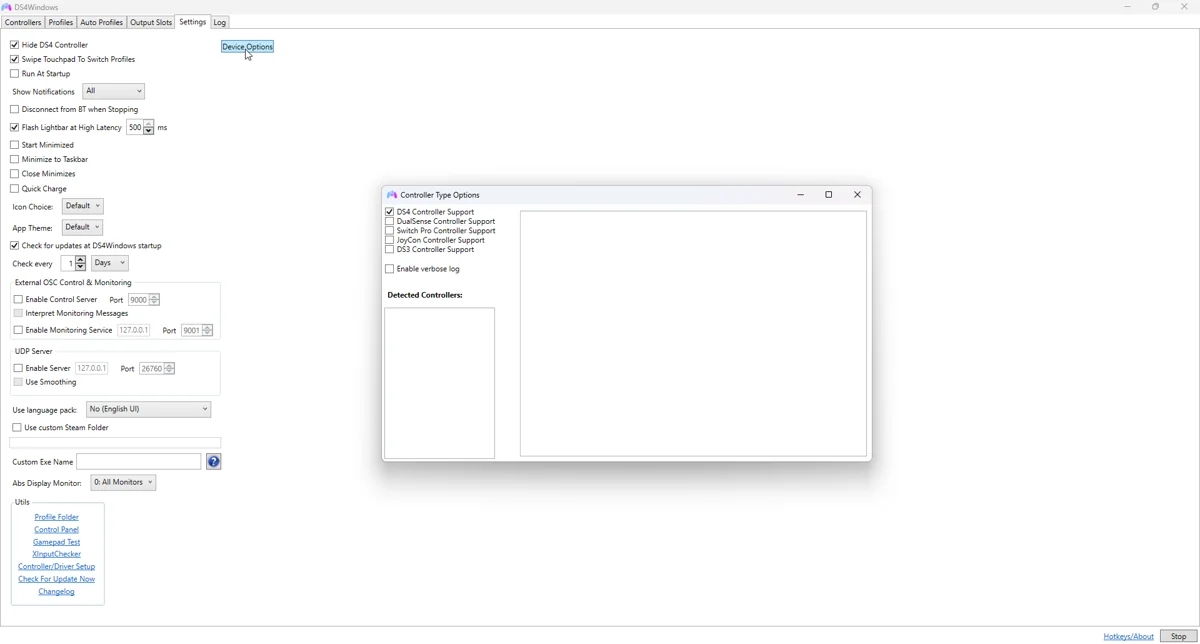
Configure the input and profile
Nexus Audio Haptics converts a selected audio source into grip feedback. Trigger Lab requests local L2/R2 effects. These features do not prove a game is sending native adaptive-trigger commands. Test each feature separately and verify the active physical controller.
Model-specific limits
Speaker streaming, headset audio and grip haptics have separate routing and volume settings. In Nexus Quick Settings, enable speaker streaming only if you want audible sound. For native game audio or feedback, follow that game’s supported connection and input requirements.
A repeatable test
- Close competing remappers and select a baseline profile.
- Check that buttons and sticks respond in DS4Windows before opening a game.
- Confirm the intended virtual controller in Windows.
- Test the game, then change one setting at a time.
- Repeat on USB and Bluetooth separately when both are supported; they can have different HidHide entries.
If it is not working
If Windows cannot see the device, solve cable, pairing or model-specific driver setup first. If only DS4Windows misses it, check device support and hiding rules. If DS4Windows reads it but a game ignores it, check virtual output and Steam Input before changing the physical connection.
Related guides
Sources: Nexus release documentation · Project and screenshot credits. Updated 11 November 2026.