Deadzone, anti-deadzone and output curves
A deadzone ignores small movement near the stick centre.
On this page
Set it up
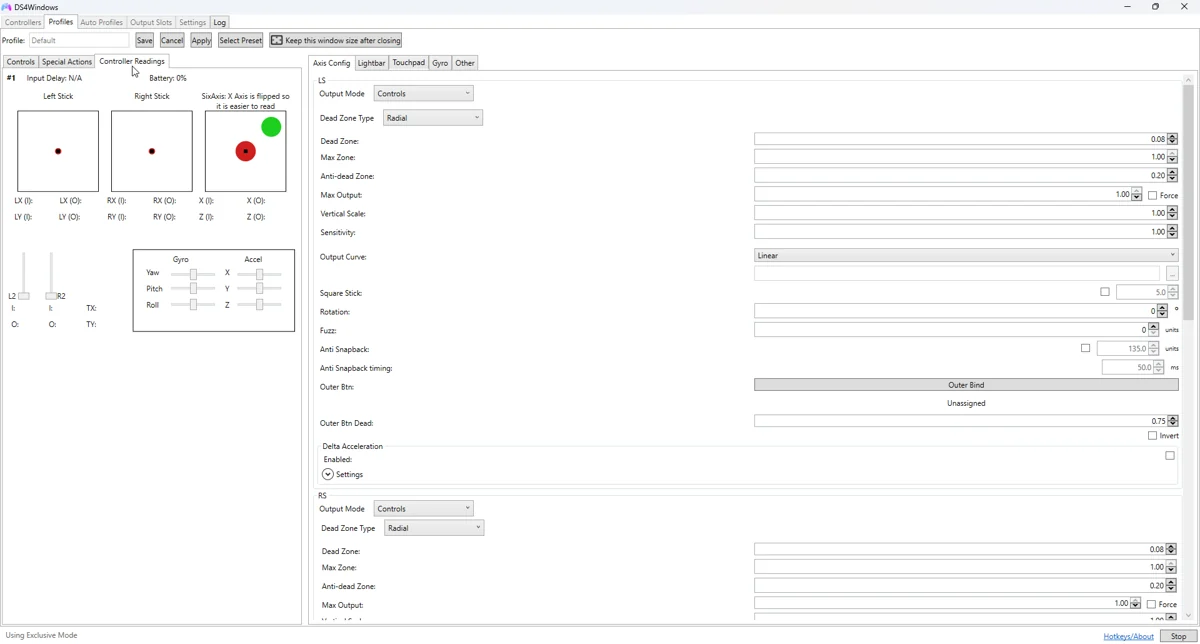
Open Controller Readings, leave the pad untouched on a stable surface and inspect both sticks. Move them fully around their range and release them repeatedly. Measure the centre variation before choosing a threshold.
Apply and test
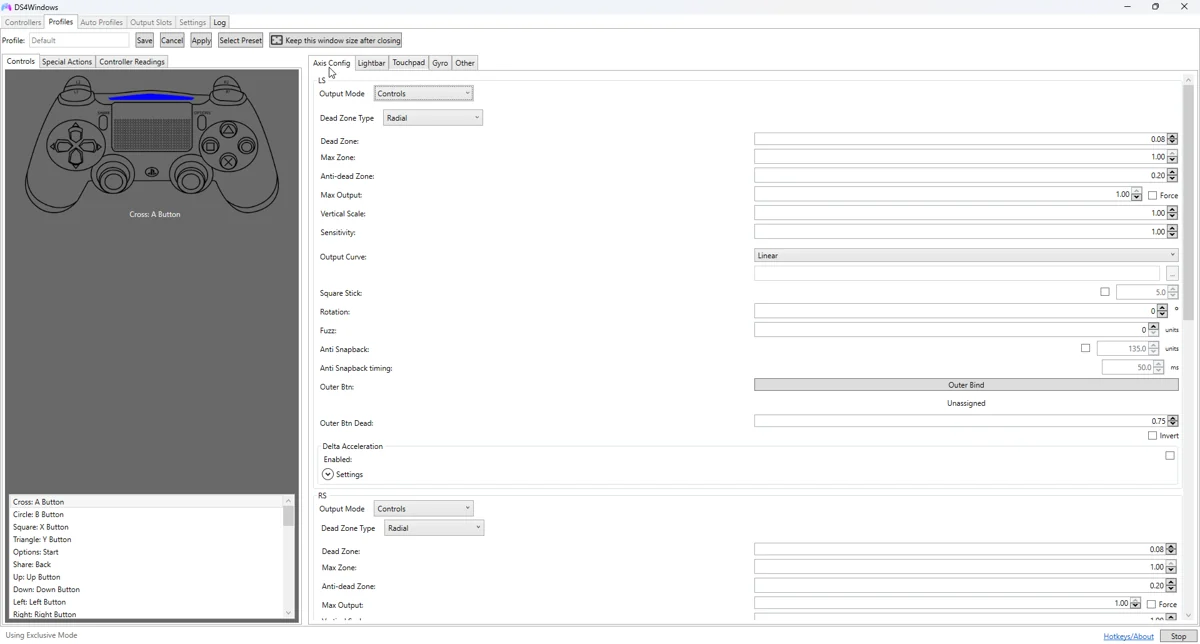
In the profile axis settings, start with a modest deadzone just above the observed resting movement. Save and test slow movement in the game. If the game already applies its own deadzone, the combined response may feel less sensitive than either setting alone.
Fine-tune the behaviour
Keep anti-deadzone low initially. Increase it only to address a known game-side deadzone, then check whether the first small movement causes a jump. Output curves, maximum zone and sensitivity all affect the feel; change one at a time.
Common pitfalls
A software deadzone masks unwanted input; it does not repair worn hardware. If the required threshold keeps growing or full travel is inconsistent, investigate cleaning, calibration supported by the device, or hardware service. Trigger resting offsets need separate trigger settings.
Verify before keeping the change
- Save a copy of the last working profile.
- Select the changed profile on the controller you are testing.
- Test in Windows, then in the target game or application.
- Compare with the unchanged baseline if behaviour is unexpected.
- Back up the working result and change only one further variable at a time.
Related guides
Sources: Nexus release documentation · Project and screenshot credits. Updated 11 November 2026.